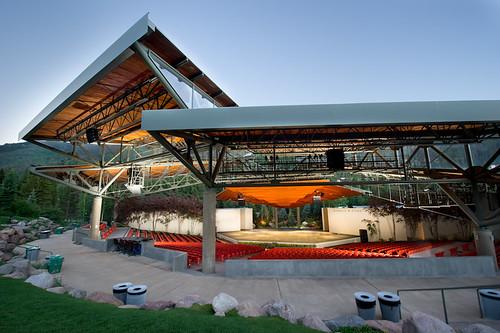
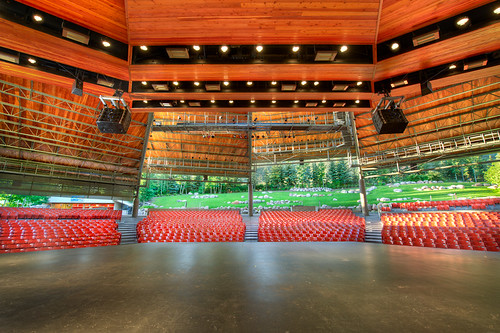
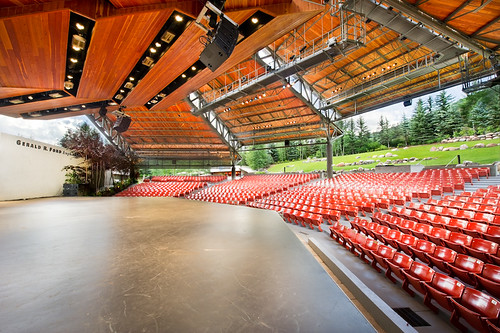
(more images to be added soon after editing!)
There are several things I learned on this shoot, and I felt the best way to share them was with a list.
-If the subject-matter is too big to light exclusively by flash, build natural light in as much as possible, and use flash to fill in the holes.
-Don't force the light if it's just not right. Typically the best light is just before and right after the sunsets. Also, because it's darker, it's easier to balance the interiors lighting with natural light outside.
-Bring an assistant along to help position lights and move quickly before the light goes. (preferably someone willing to work for free! Now I owe you a shoot Daniel.)
-Bracket your shots while using flash and you will be able to compile an evenly lit HDR image later in photoshop.
-Capture separate exposures if the lighting can't be balanced, of sky, scenery, and subject-matter so that you can blend them in Photoshop later.
-Change only shutter-speed, not aperture for merging exposures later.
-If you can make it work, use the existing lighting, then just add a splash of flash light where needed.
-Bring your tripod. Bracketing images can be a nightmare without.
-Shoot with a remote shutter release. Pushing the button on the camera can move it's position enough to make post-production even more difficult.
-Worry first about composition, and shot angle. Never set up lights and then build your shot around that.
-The best sunsets occur when there are some clouds in the sky.
-Sunsets can look amazing either East or West depending on the weather conditions. Have an angle for both sides that will work depending on what looks most impressive. (Remember, sunsets don't last long!)
-Some of the photos I captured were from a ladder. To do this, I needed a stable platform for the camera, and my tripod would not work. I attached a Manfrotto magic arm with clamp to the top of the ladder, and attached that to my camera. I also used this for shots from the catwalk where I needed the camera to reach out farther.
-If you need a lot of flash power (almost more than your flash has) ditch any light modifiers like umbrellas or softboxes. They take a bit of power away. Also, crank up your ISO to where you are comfortable, and shoot the most open aperture that you can afford too.
-ND filters like the ones from Cokin work great to balance the sky and subject-matter. Unfortunately I didn't bring mine during this shoot.....
-PhotoMatix is a great program for creating HDR's and is fairly simple to figure out. Highly recommended.
-Relax and practice Zen Photography, and you will complete the assignment well!
That's the BUZZ for Today! Please check back soon for more.


0 comments:
Post a Comment